Less accurate methods of sensitivity measurement used include capacitive pickup calibration or ultrasonic white noise calibration, which can be used to measure the sensor output but are only relative measurement methods and can made accurate only by referencing the absolute underwater calibration method.
All SD PIND sensors have a complete Faraday shield around each crystal to protect the sensor from unwanted stray electrical signals. This protection enhanced by the five-conductor, seven-layer flexible circuit that attaches the sensor to the shaker mounted connector eliminates the need for Transient Detectors with Spike indicators required on older PIND systems. The sensor peak sensitivity can be dampened by a variety of factors but the most common reason for sensors to lose sensitivity over time is the bond that holds the crystal to the front surface wear plate will begin to micro crack with use and age.
MULTIPLE CRYSTAL SENSORS
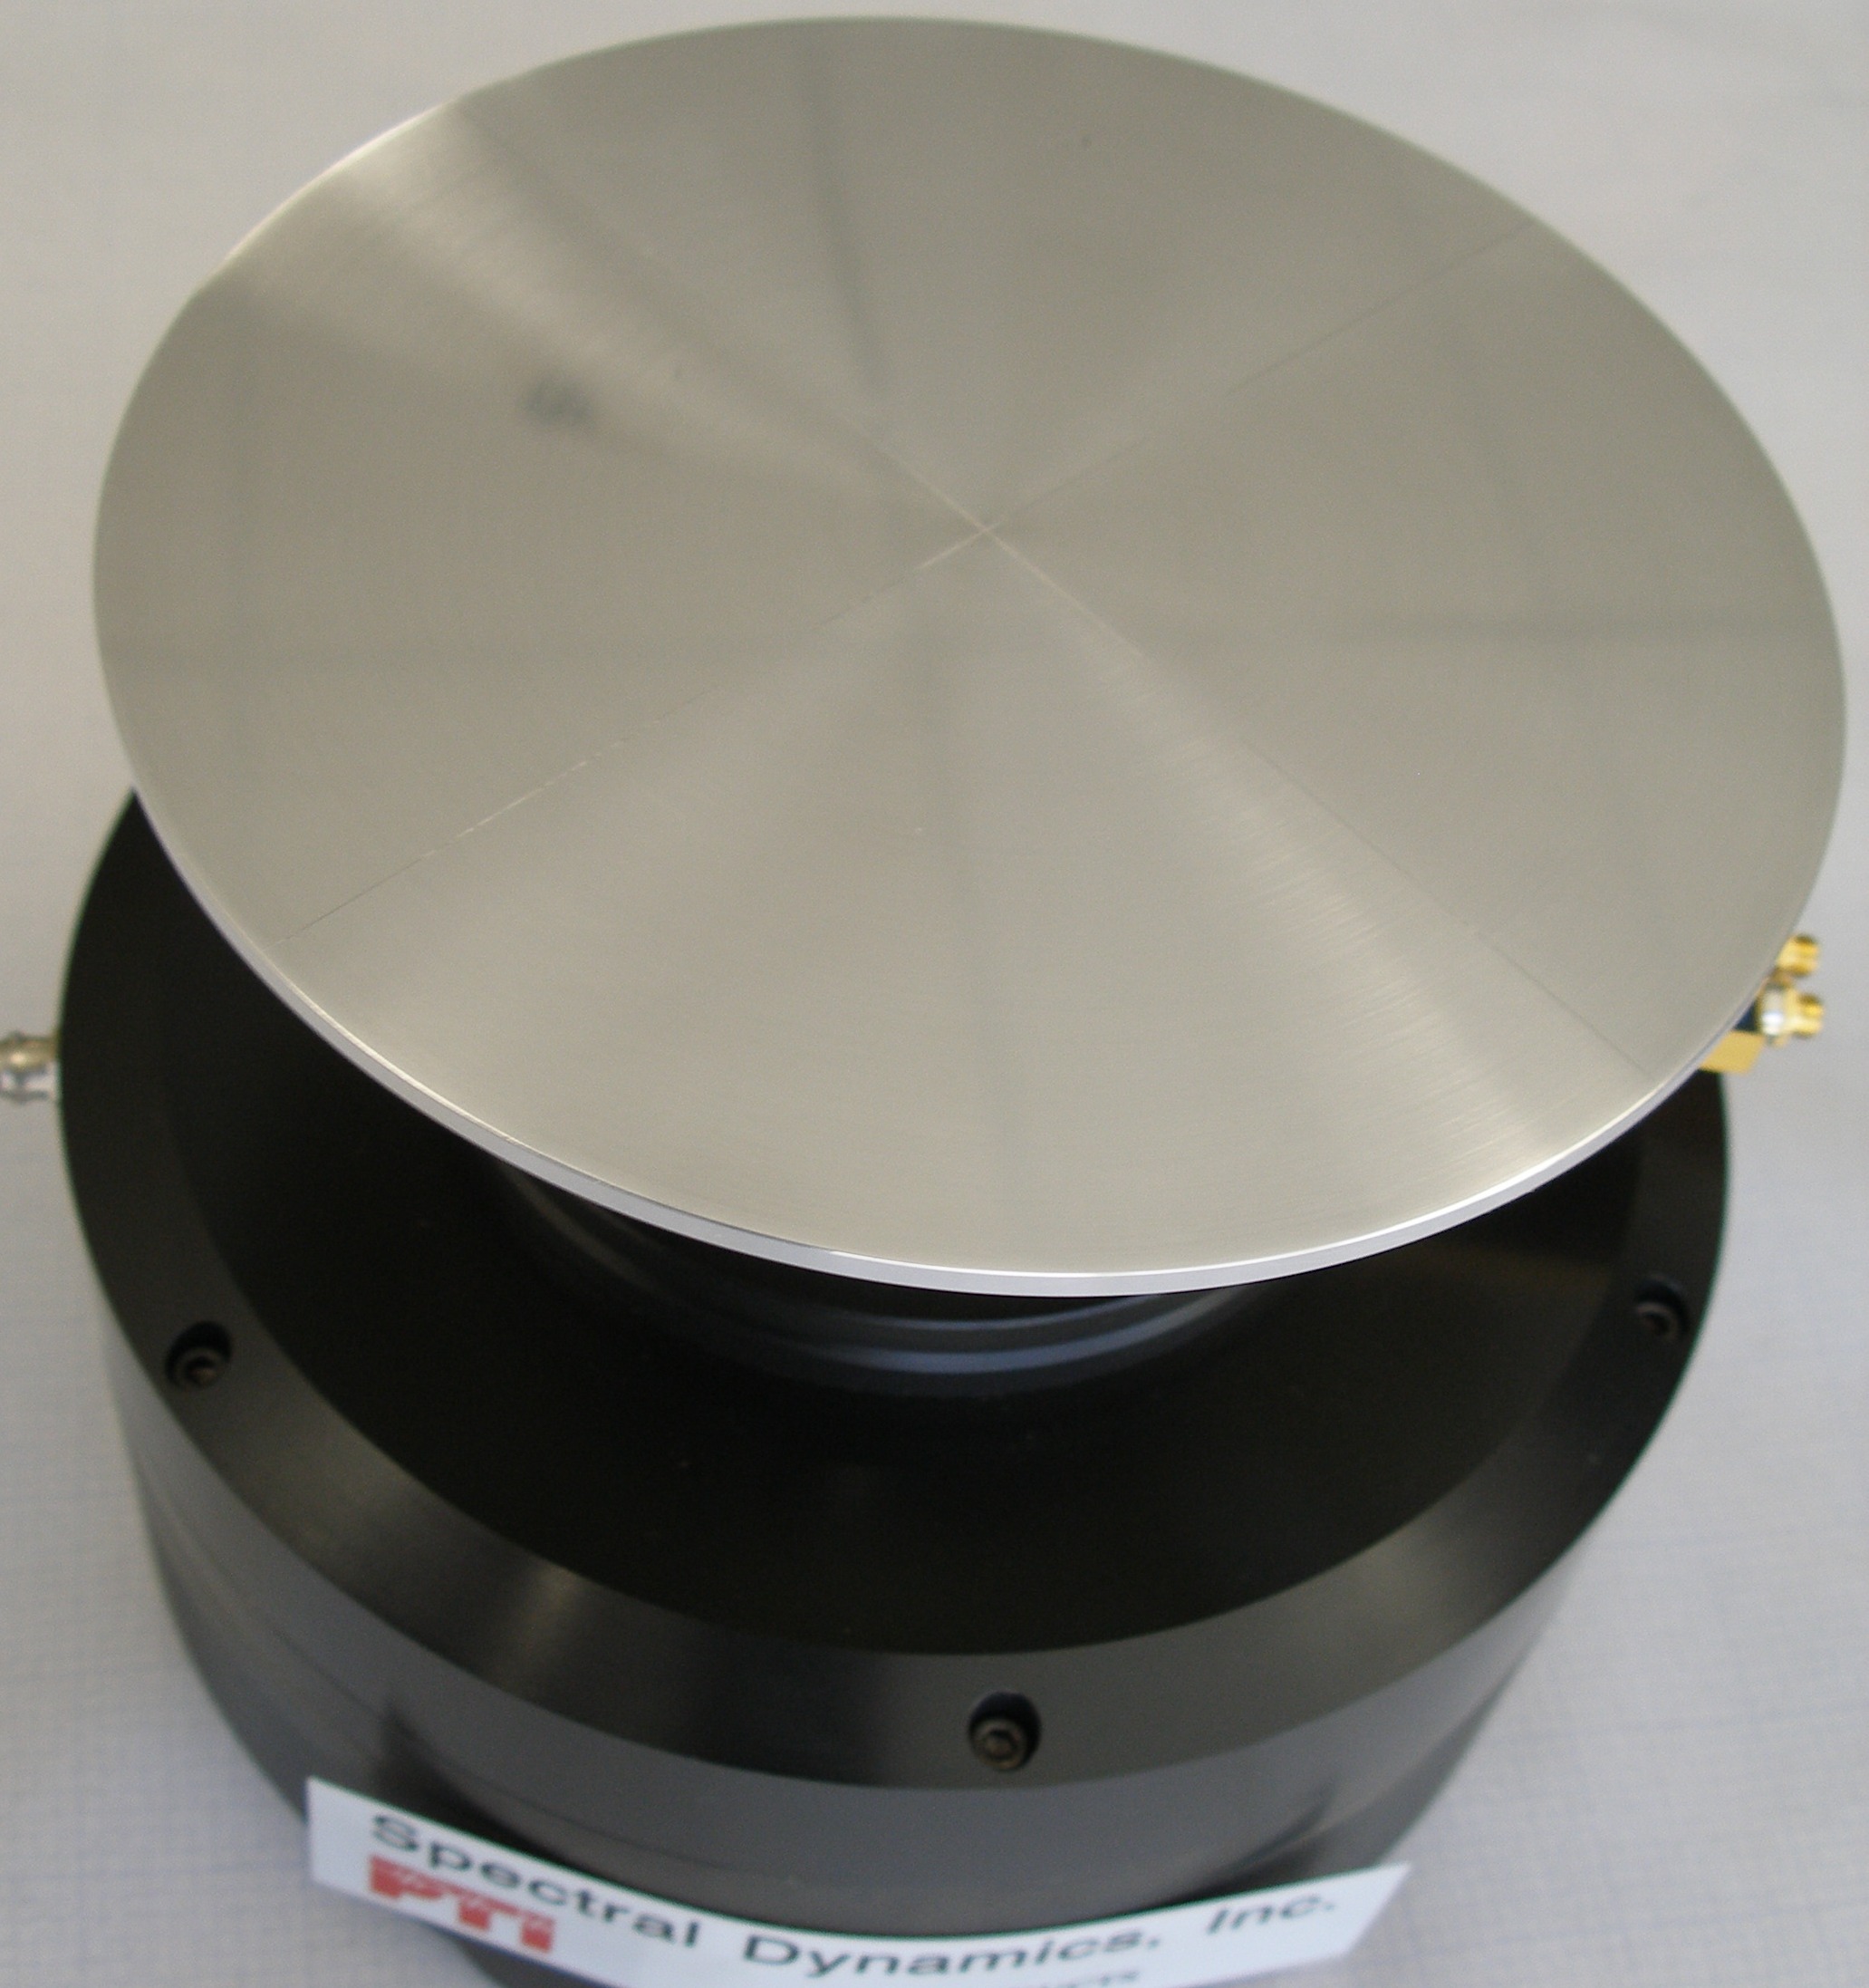
As the sensor crystal and the source of the acoustic wave get farther apart the measured energy is reduced. JEDEC Recommended Practice 114 graphically outlines the decay of detection is down to less than 50% at distances over 0.75 in from the impact site. For the PIND test it is then important that the lid of the part to be tested be placed a close to the crystal in the sensor as possible. The Model 100-5S155-4 sensor incorporates five separate impact detection crystals within the single sensor. The most sensitive area of the sensor are those areas where each detection crystal is located. For testing small parts, it is important to place the part directly on one of the four target areas.


